
Saturday, June 19, 2010
Bathroom Wall Decor - Wall Sticker Circles
Using Wall Vinyl Decals for your Camper Decor

I hope everyone is enjoying a relaxing summer! Since it's that time of year that a lot of people are hauling their campers down to their favorite river spot or campground; let's show you how simple it is to brighten your camper decor!

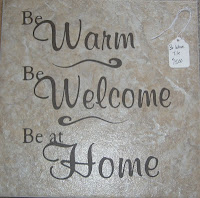
Since campers are moved around a lot and thus, not so stable, having something on the walls that will not break is a priority! Wall vinyl decals are PERFECT! Slap them up and they look like you spent hours painting a fancy design. You can either choose an elegant wall vinyl saying like pictured.

Or you can add some wall shapes, like polka dots or squares, to brighten the decor in a few areas.

Another option, wall vinyl stripes! You can use the wall stripes to add a border on the wall. Or use the variety wall stripes to decorate, say, around your table area or some similiar small area. The wall vinyl stripes are VERY simple to use - just peel the backing and place it on the wall. As long as you line up each strip, end to end, exactly, you can usually get by without having to measure much at all! That's my favorite kind of decorating - no tape measure!!
Happy camping to everyone!!
Tuesday, June 8, 2010
Outdoor Vinyl - Decorating your mailbox!

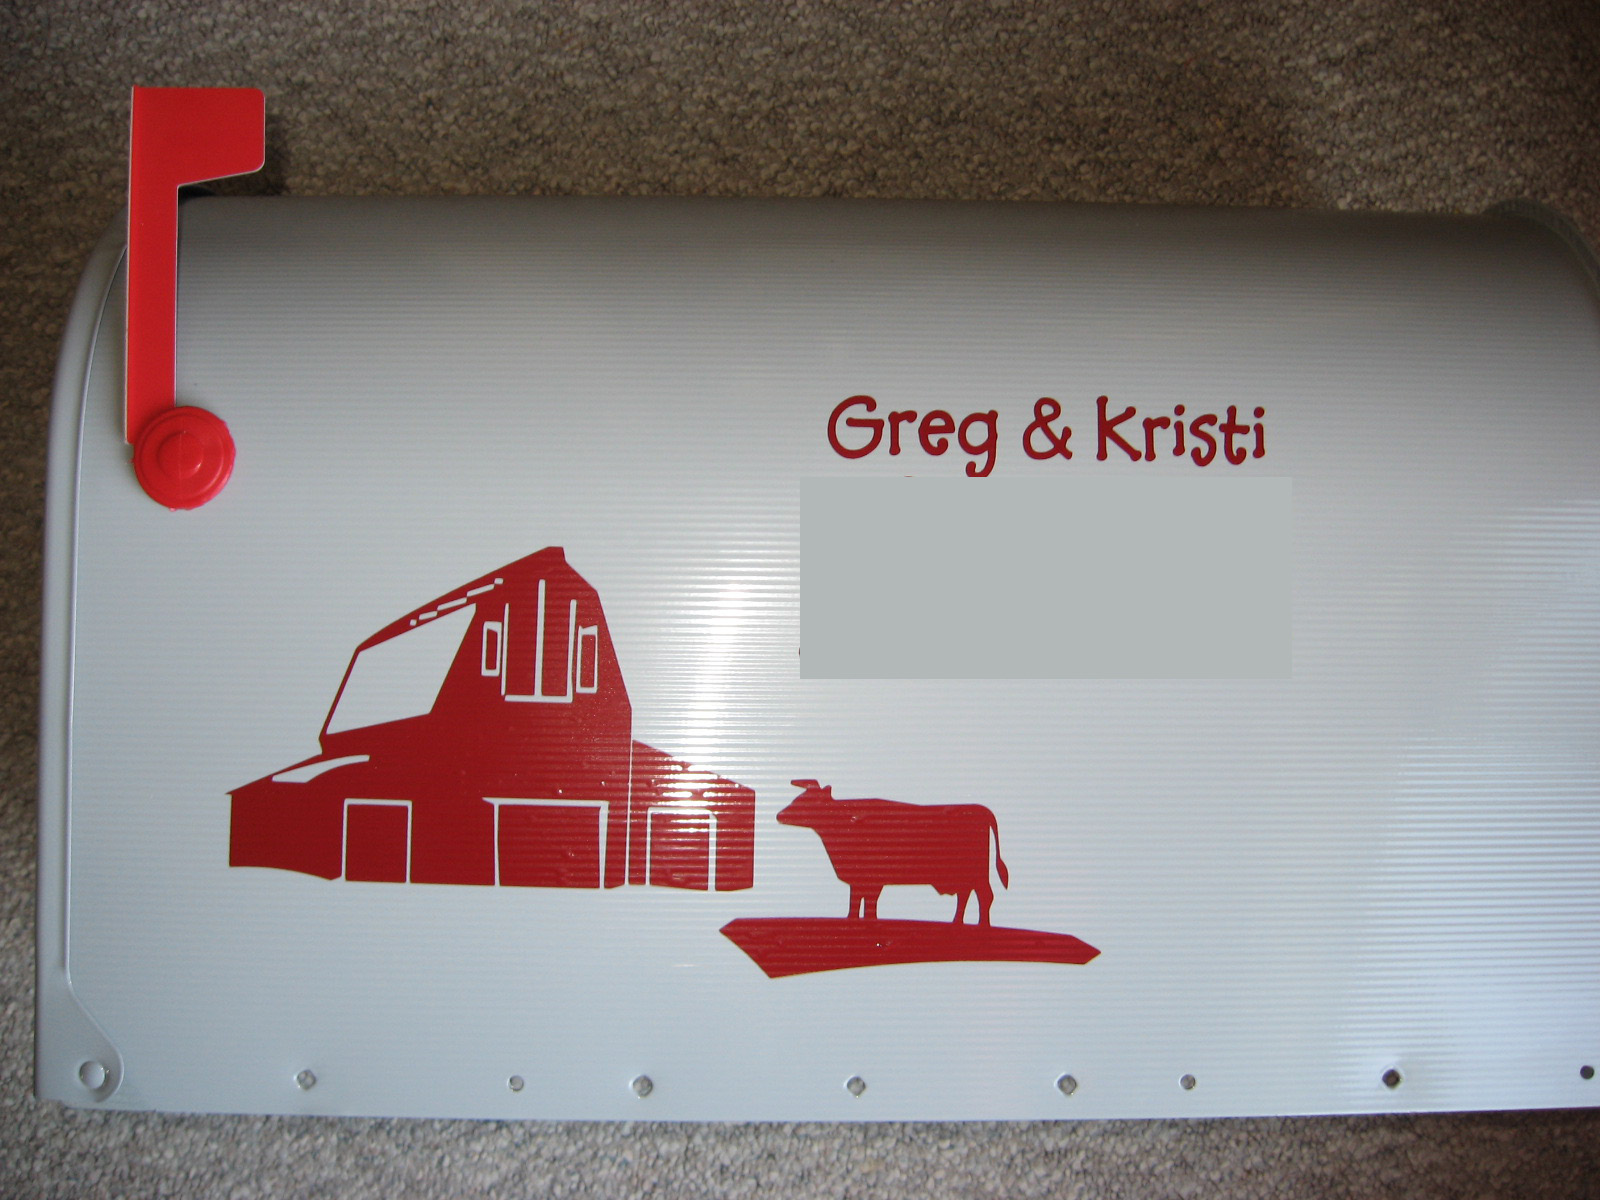
Outdoor vinyl lettering is excellent for vehicle lettering, also. The outdoor vinyl that I use has a 6-year outdoor durability. Some other uses for outdoor vinyl are: US DOT # for farmer's trucks/trailers, vinyl decals to put on planters and flower boxes
Tuesday, June 1, 2010
5 Things you need before you apply your vinyl decal
#1. You need a clean wall or surface! You may use a cleanser to wash with first. Then, be sure to thoroughly wash it with just water. You do NOT want any soap residue left over which may take away from the quality of your adhesived backed vinyl decal.
 #2. Your surface needs to be between 60 and 80 degrees F. For indoor walls, this is not generally a problem. When you are applying vinyl wording to a ceramic/porcelain tile or vinyl lettering to a vehicle, you need to pay close attention to this. I always place my tiles in front of a heater for a few minutes before I apply my vinyl wording. If you are outdoors (such as applying vinyl lettering to your vehicle), then make use of a hair blow dryer for a few minutes to bring the surface to the correct temperature. The correct temperature is VERY important as I have had it proven many times.
#3. Your paint should be allowed to cure for 4 weeks to be on the safe side but in some cases one week is good enough. If you are applying a vinyl decal over painted walls, etc, please wait 4 weeks before applying for best results. If you apply your vinyl decal too soon, when you decide to take your vinyl decal down, the paint underneath could be ruined when you remove the decal.
#4 Along the lines of paint... applying vinyl decals over top of LATEX paint is not recommended - but I have always done it =)! It is best to use oil based paints. But since I am not a fan of paint thinner and the clean-up needed with oil-based paints, all of my inside walls are painted with latex. I have had decals up for over a year now with EXCELLENT results. I am only passing this information on to keep you totally informed and I will let you judge what you prefer to do.
#5 Have the correct tools handy. The tools you will need:
a squeegee or popsicle stick
 to rub over your decal
a tape measure to make sure your vinyl decal is applied straight and centered where needed (I like to use the soft tape measure like this - for some reason it works best with my 2 left thumbs).
Stay posted for more how-to's with wall vinyl decals.

#3. Your paint should be allowed to cure for 4 weeks to be on the safe side but in some cases one week is good enough. If you are applying a vinyl decal over painted walls, etc, please wait 4 weeks before applying for best results. If you apply your vinyl decal too soon, when you decide to take your vinyl decal down, the paint underneath could be ruined when you remove the decal.
#4 Along the lines of paint... applying vinyl decals over top of LATEX paint is not recommended - but I have always done it =)! It is best to use oil based paints. But since I am not a fan of paint thinner and the clean-up needed with oil-based paints, all of my inside walls are painted with latex. I have had decals up for over a year now with EXCELLENT results. I am only passing this information on to keep you totally informed and I will let you judge what you prefer to do.
#5 Have the correct tools handy. The tools you will need:
a squeegee
a tape measure
Stay posted for more how-to's with wall vinyl decals.
Subscribe to:
Posts (Atom)